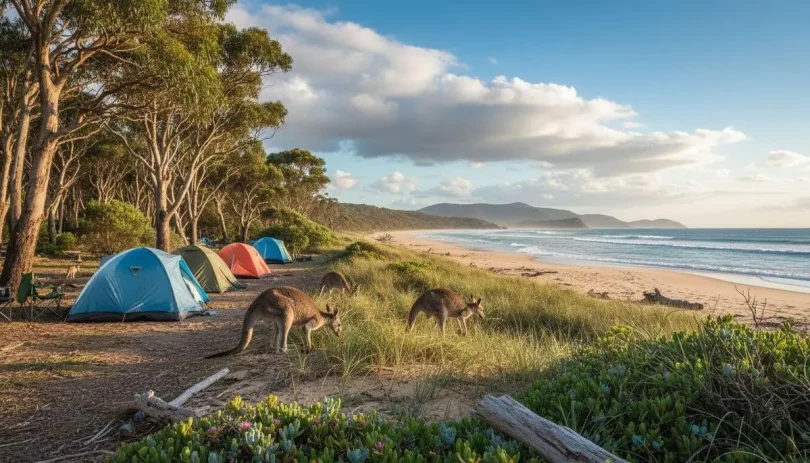

Travel photography is one of the best parts of any trip. It helps you save memories, share experiences, and tell the story of your journey. A good travel photo can remind you of a beautiful road, a peaceful sunset, a tasty meal, or a happy moment with family and friends.
Many beginners think photography is difficult. They think they need an expensive camera, special lenses, and advanced editing skills. The truth is much simpler. You can start travel photography with a basic camera or even a phone. What matters most is how you see a place and how you capture it.
If you are new to travel photography, do not worry. You do not need to become an expert in one day. You only need to learn a few basic ideas and practice them again and again. Small improvements can make a big difference.
This guide will help you understand travel photography for beginners in a very simple way. You will learn how to use light, choose angles, frame your photos, pick the right moments, and avoid common mistakes. By the end, you will feel more confident using your phone or camera during your trips.
What Is Travel Photography?
Travel photography means taking photos while you travel. These photos can include landscapes, streets, food, people, buildings, transport, hotels, markets, and local culture.
It is not only about taking pictures of famous places. It is also about capturing the feeling of being there. A travel photo can show adventure, peace, excitement, beauty, or curiosity.
For example, a photo of a mountain can show the beauty of nature. A photo of a street market can show the local lifestyle. A photo of your breakfast near a window can show the mood of a morning during your trip.
Travel photography is about memory and story. It helps you remember the small moments that make travel special.
Why Travel Photography Is Great for Beginners
Travel photography is a good starting point for beginners because it gives you many different subjects. On one trip, you may photograph landscapes, food, people, streets, and buildings. This helps you learn faster.
It also makes practice fun. Instead of taking random photos at home, you are capturing real moments from places you enjoy.
Travel photography teaches you how to notice light, color, shape, and timing. It also helps you become more patient and creative. You start paying attention to small details that you may ignore in normal daily life.
Most importantly, travel photography is personal. Your photos do not need to look like someone else’s work. They only need to reflect your own journey.
Do You Need an Expensive Camera?
No, you do not need an expensive camera to start travel photography.
A good smartphone is enough for many beginners. Modern phones have excellent cameras. They can handle portraits, landscapes, food shots, and even low-light photography quite well.
If you already have a camera, that is great too. But do not wait for the “perfect” camera before you start. Use what you already have. Learn the basics first. Once your skills improve, you will understand better what gear you really need.
A simple phone or camera in skilled hands is better than an expensive camera used without basic knowledge.
So if you are a beginner, the best rule is simple: start with what you have.
Know Your Camera or Phone First
Before you try to take amazing travel photos, spend a little time understanding your device.
If you use a phone, learn about:
- focus
- exposure
- portrait mode
- wide mode
- zoom
- night mode
- timer
- grid lines
If you use a camera, learn about:
- shutter button
- focus
- zoom
- ISO
- aperture
- shutter speed
- white balance
- shooting modes
You do not need to master everything at once. Just learn the basic buttons and main features.
A big beginner mistake is owning a device with useful features but never learning how to use them. Spend a little time practicing before your trip. This will help you feel more comfortable later.
Clean the Lens Before Every Photo Session
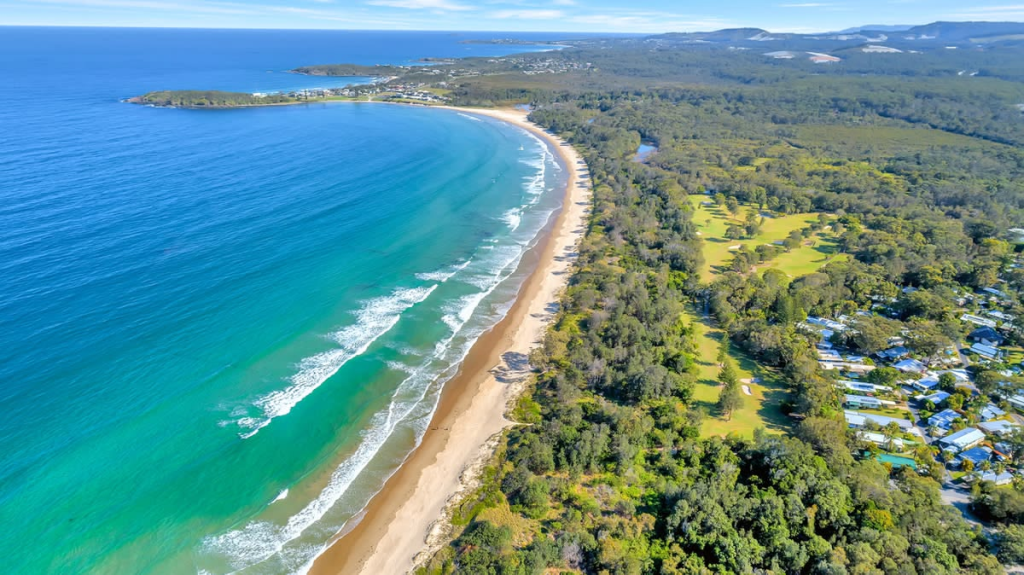
This is one of the easiest tips, but it is also one of the most important.
A dirty lens can make your photo look blurry, dull, or soft. This happens a lot with phones because we touch them often.
Before taking photos, clean your lens with a soft cloth or a clean shirt corner. Be gentle.
Many beginners think their camera quality is bad, but the real problem is often just a dirty lens.
This small step can improve your photos instantly.
Learn the Importance of Light
Light is everything in photography. Even a simple photo can look beautiful in good light. On the other hand, a beautiful place can look average in bad light.
As a beginner, try to use natural light as much as possible. Morning and evening are usually the best times for photography. The light is softer, warmer, and more flattering.
The time after sunrise and before sunset is called golden hour. It is one of the best times to take travel photos because the sunlight is gentle and gives everything a nice glow.
Midday light can be very harsh. It creates strong shadows and bright highlights. If you must take photos during midday, look for shade.
When you start noticing light, your photography will improve quickly.
Focus on One Main Subject
A strong photo usually has one clear subject. The subject is the main thing you want people to notice first.
It could be:
- a person
- a mountain
- a building
- a meal
- a street scene
- a boat
- a local shop
Before taking the photo, ask yourself: What is the main subject here?
If the frame has too many things fighting for attention, the photo can look messy. A clear subject makes the image stronger and easier to understand.
As a beginner, keep things simple. Let one subject lead the photo.
Use the Rule of Thirds
The rule of thirds is one of the easiest photography techniques for beginners.
Imagine your image divided into nine equal boxes. Many phones and cameras let you turn on grid lines, which show this on the screen.
Instead of placing your subject exactly in the center every time, try placing it near one of the lines or where the lines meet.
This often makes the photo feel more balanced and natural.
For example:
- Place the horizon in the upper or lower third instead of the center
- Place a person on the left or right side of the frame
- Put a building slightly off-center for a more interesting composition
You do not have to follow this rule every time, but it is a great starting point.
Keep the Background Clean
Beginners often focus on the subject and forget the background. But the background is very important.
A messy background can ruin a good photo. Poles, wires, trash bins, random people, and unwanted objects can make the image distracting.
Before clicking the photo, quickly check what is behind your subject.
If the background looks bad, try these simple fixes:
- move a little left or right
- step closer to the subject
- change your angle
- wait for people to move away
- use portrait mode if available
A clean background makes your photo look much better.
Try Different Angles
Many beginners take all their photos from eye level. That is normal, but it can become boring if every photo looks the same.
Try these simple angle changes:
1. Low angle
Hold your camera lower and shoot upward. This makes buildings, trees, and people look stronger.
2. High angle
Take a photo from above. This works well for food, streets, and market scenes.
3. Side angle
Shoot from the side instead of straight in front. This adds variety.
4. Close-up
Move closer and capture details like hands, food, textures, or travel items.
Changing angles is one of the fastest ways to improve travel photography.
Take Both Wide Shots and Detail Shots
Beginners often take only wide photos. Wide shots are important because they show the full place, but detail shots are also valuable.
A complete travel story includes both.
Wide shots can include:
- mountains
- beaches
- city skylines
- streets
- temples
- lakes
Detail shots can include:
- food plates
- street signs
- coffee cups
- door handles
- souvenirs
- flowers
- travel tickets
Wide shots show the scene. Detail shots show the feeling.
Together, they create a richer and more complete story.
Capture Real Moments
Not every travel photo needs a perfect pose. Some of the best travel photos are natural moments.
Take photos of:
- someone walking
- laughing
- reading a map
- drinking tea
- looking at a view
- shopping in a market
- sitting quietly by the sea
These photos feel real and emotional. They show the human side of travel.
If you travel with someone, ask them to move naturally instead of standing stiffly and smiling at the camera every time.
Real moments often create stronger memories.
Learn Basic Composition
Composition means how things are placed inside the photo. Good composition helps guide the viewer’s eye.
Here are a few easy composition ideas for beginners:
Leading lines
Roads, paths, railways, bridges, and walls can lead the viewer’s eye toward the subject.
Framing
Use doors, windows, tree branches, or arches to frame the subject.
Symmetry
Some places look great when centered, especially doors, hallways, or reflections.
Negative space
Leave some empty space around the subject. This can make the image feel calm and clean.
You do not need to use every composition trick at once. Try one at a time and see what works best.
Keep Your Photos Straight
A crooked horizon can make a photo look careless. This often happens in landscape or beach photography.
Check if the horizon line is straight before you click. The grid on your phone can help.
If the image is slightly tilted, you can fix it while editing. But it is better to get it right when taking the photo.
Straight images look cleaner and more professional.
Avoid Too Much Zoom
Digital zoom often reduces quality, especially on phones. If you zoom too much, the image can become blurry or pixelated.
Instead of zooming in, try moving closer if possible.
If you cannot move closer, take the photo without too much zoom and crop it later.
This usually gives you better quality.
For beginners, the safest rule is simple: use your feet more than your zoom.
Practice With Simple Subjects First
You do not need to start with the hardest scenes.
Begin with easy travel subjects like:
- food on a table
- a quiet street
- a building in daylight
- a beach view
- your hotel room
- your travel bag
- a road or walking path
These subjects help you practice light, focus, framing, and composition without too much pressure.
Once you feel more confident, you can move on to busier scenes like markets, festivals, and street photography.
Understand Basic Camera Settings
If you are using a camera, you should learn three very basic settings over time:
1. ISO
ISO controls how sensitive your camera is to light. Lower ISO is cleaner. Higher ISO helps in darker scenes but can add grain.
2. Shutter speed
This controls how long the camera captures light. Faster shutter speeds freeze motion. Slower shutter speeds capture more light.
3. Aperture
This controls how much light enters the lens and how blurry the background becomes.
As a beginner, you do not need to fully master them in one day. Start by learning what each one does. Even basic knowledge will help you a lot.
If you use a phone, many of these settings work automatically, which is fine for beginners.
Do Not Ignore Weather
Some beginners only want perfect sunny weather. But travel photos can look beautiful in many weather conditions.
Rain can create reflections. Fog can create mystery. Snow can add softness. Clouds can make skies more dramatic.
Instead of fighting the weather, learn to use it.
For example:
- wet roads can create great reflection photos
- cloudy weather is good for soft portraits
- fog works well for mountains and forests
- sunset clouds can make the sky look amazing
Weather adds mood to travel photography.
Take Photos Early When Possible
If you visit popular places, mornings are often best.
Why?
- fewer people
- softer light
- calmer mood
- cleaner backgrounds
If you want a nice photo at a famous spot, early morning can save you from crowds.
It also gives your photos a peaceful feeling that is harder to get later in the day.
For beginners, early morning travel photography is often easier and more rewarding.
Edit Lightly and Simply
Editing is useful, but beginners often overdo it.
Good editing should improve the photo, not destroy it.
Start with basic edits only:
- brightness
- contrast
- shadows
- highlights
- sharpness
- warmth
Try to keep colors natural. Avoid making the sky too blue or skin too orange.
You can use simple phone apps or built-in editing tools.
A lightly edited photo usually looks cleaner and more timeless than a heavily filtered one.
Tell a Story With Your Photos
A great travel photo is nice. But a group of travel photos that tell a story is even better.
Try to capture different parts of the trip, such as:
- getting ready
- the journey
- arrival
- food
- streets
- local details
- the main destination
- people and moments
- sunset or evening
- the final goodbye moment
This helps you create a full memory instead of just random pictures.
For blogs and social media, story-based travel photos also work much better.
Travel Photography Tips for Phone Users
If you use a phone, you can still take amazing photos.
Here are a few simple tips:
- clean the lens often
- tap to focus
- lower the exposure if the image looks too bright
- use portrait mode for people
- use wide mode for landscapes
- use grid lines
- avoid too much zoom
- keep your phone steady
- take multiple shots
Phone cameras are convenient because they are always with you. This makes it easier to capture unexpected moments.
For beginners, phone photography is a very good way to start.
Travel Photography Tips for Camera Users
If you are using a camera, here are a few simple beginner tips:
- shoot in daylight while learning
- keep your camera settings simple
- use auto mode at first if needed
- hold the camera steady
- learn focus points
- carry an extra battery
- carry a memory card
- protect the camera from dust and rain
Do not feel embarrassed about using auto mode as a beginner. It is better to capture the moment than miss it while changing complex settings.
You can move to manual or semi-manual modes later as your confidence grows.
Common Mistakes Beginners Should Avoid
Beginners often make the same mistakes, and that is completely normal. The good news is that these mistakes are easy to fix.
1. Taking photos too quickly
Slow down and check the light, background, and angle.
2. Keeping every photo at eye level
Try different viewpoints.
3. Ignoring the background
Always look behind the subject.
4. Over-editing
Keep edits simple and natural.
5. Using too much zoom
Move closer instead when possible.
6. Forgetting to clean the lens
A dirty lens can reduce quality fast.
7. Not backing up photos
Travel memories are important. Save them safely.
Making mistakes is part of learning. Every trip helps you improve.
A Simple Travel Photography Checklist for Beginners
Before taking a photo, quickly ask yourself:
- Is my lens clean?
- What is the main subject?
- Is the light good?
- Is the background clean?
- Is the photo straight?
- Can I try a better angle?
- Should I take both wide and close shots?
- Does this photo tell part of the story?
This simple checklist can help you take better travel photos immediately.
Best Subjects for Beginner Travel Photography
If you are not sure what to photograph, start with these:
- landscapes
- roads and walking paths
- food and drinks
- hotel room details
- windows and doors
- street markets
- public transport
- signs and shop names
- sunsets and sunrises
- travel gear
- feet on different surfaces
- candid moments with travel partners
These subjects are easy to find and good for practice.
How to Improve Faster
The best way to improve is practice.
Take photos often. After each trip, look at your images and ask yourself:
- Which photos do I like most?
- Why do they look better?
- Which photos feel weak?
- Is the light poor?
- Is the background messy?
- Is the subject unclear?
Learning from your own photos is very helpful.
You can also try this simple method:
One trip, one focus
On one trip, focus mainly on composition.
On the next trip, focus on light.
On another trip, focus on angles.
This helps you improve step by step without feeling overwhelmed.
FAQs About Travel Photography for Beginners
1. Can beginners do travel photography with a phone?
Yes, absolutely. A phone is enough for beginner travel photography. Many modern phones take very good photos. What matters most is light, framing, and timing.
2. What is the best time of day for travel photos?
Morning and evening are usually best because the light is softer and warmer. These times help photos look more beautiful and natural.
3. Do I need to learn all camera settings first?
No. You only need basic understanding at the start. Learn step by step. Start with focus, light, and composition first.
4. How can I make my travel photos look better quickly?
Clean the lens, use natural light, keep the background clean, focus on one subject, and try different angles. These small changes can improve photos fast.
5. Should I edit my photos?
Yes, but lightly. Small edits can improve brightness, contrast, and sharpness. Avoid heavy filters that make photos look fake.
6. What should a beginner photograph during travel?
Start with landscapes, food, streets, hotels, signs, transport, and simple candid moments. These are easy subjects and help build confidence.
7. Is it okay to use auto mode?
Yes. Auto mode is fine for beginners. It is better to take the photo than miss the moment. As your skills improve, you can learn more manual controls.
Conclusion
Travel photography for beginners does not have to feel hard. You do not need expensive gear or expert-level skills to start. You only need curiosity, practice, and a few simple basics.
Start by understanding your phone or camera. Pay attention to light. Keep your backgrounds clean. Focus on one subject. Try different angles. Capture real moments. Edit lightly.
Most importantly, enjoy the process. Travel photography is not just about getting perfect images. It is about saving memories and telling the story of your journey.
The more you practice, the more your confidence will grow. With time, your photos will become clearer, stronger, and more meaningful.
So on your next trip, take your camera or phone, slow down, and start noticing the beauty around you. That is the real beginning of travel photography.